UPDATE, July 16, 2016: This article was originally published on May 21, 2014. Since then, it’s consistently been the most popular piece on this site almost every month. The original text is still valid, but SSD recommendations are now outdated.
As of July 2016, the consumer-grade SSD I recommend is the Samsung 850 EVO. If you want something fancier, both the Samsung 850 Pro and the SanDisk Extreme Pro are excellent, as well. That said, keep in mind that in this case the bottleneck will be your iMac’s 3 Gb/s SATA 2 interface, so any of these drives will have nearly identical performance. Prices vary slightly on Amazon but you can’t go wrong with any of these, so my advice would be to get whichever is cheaper at the moment.
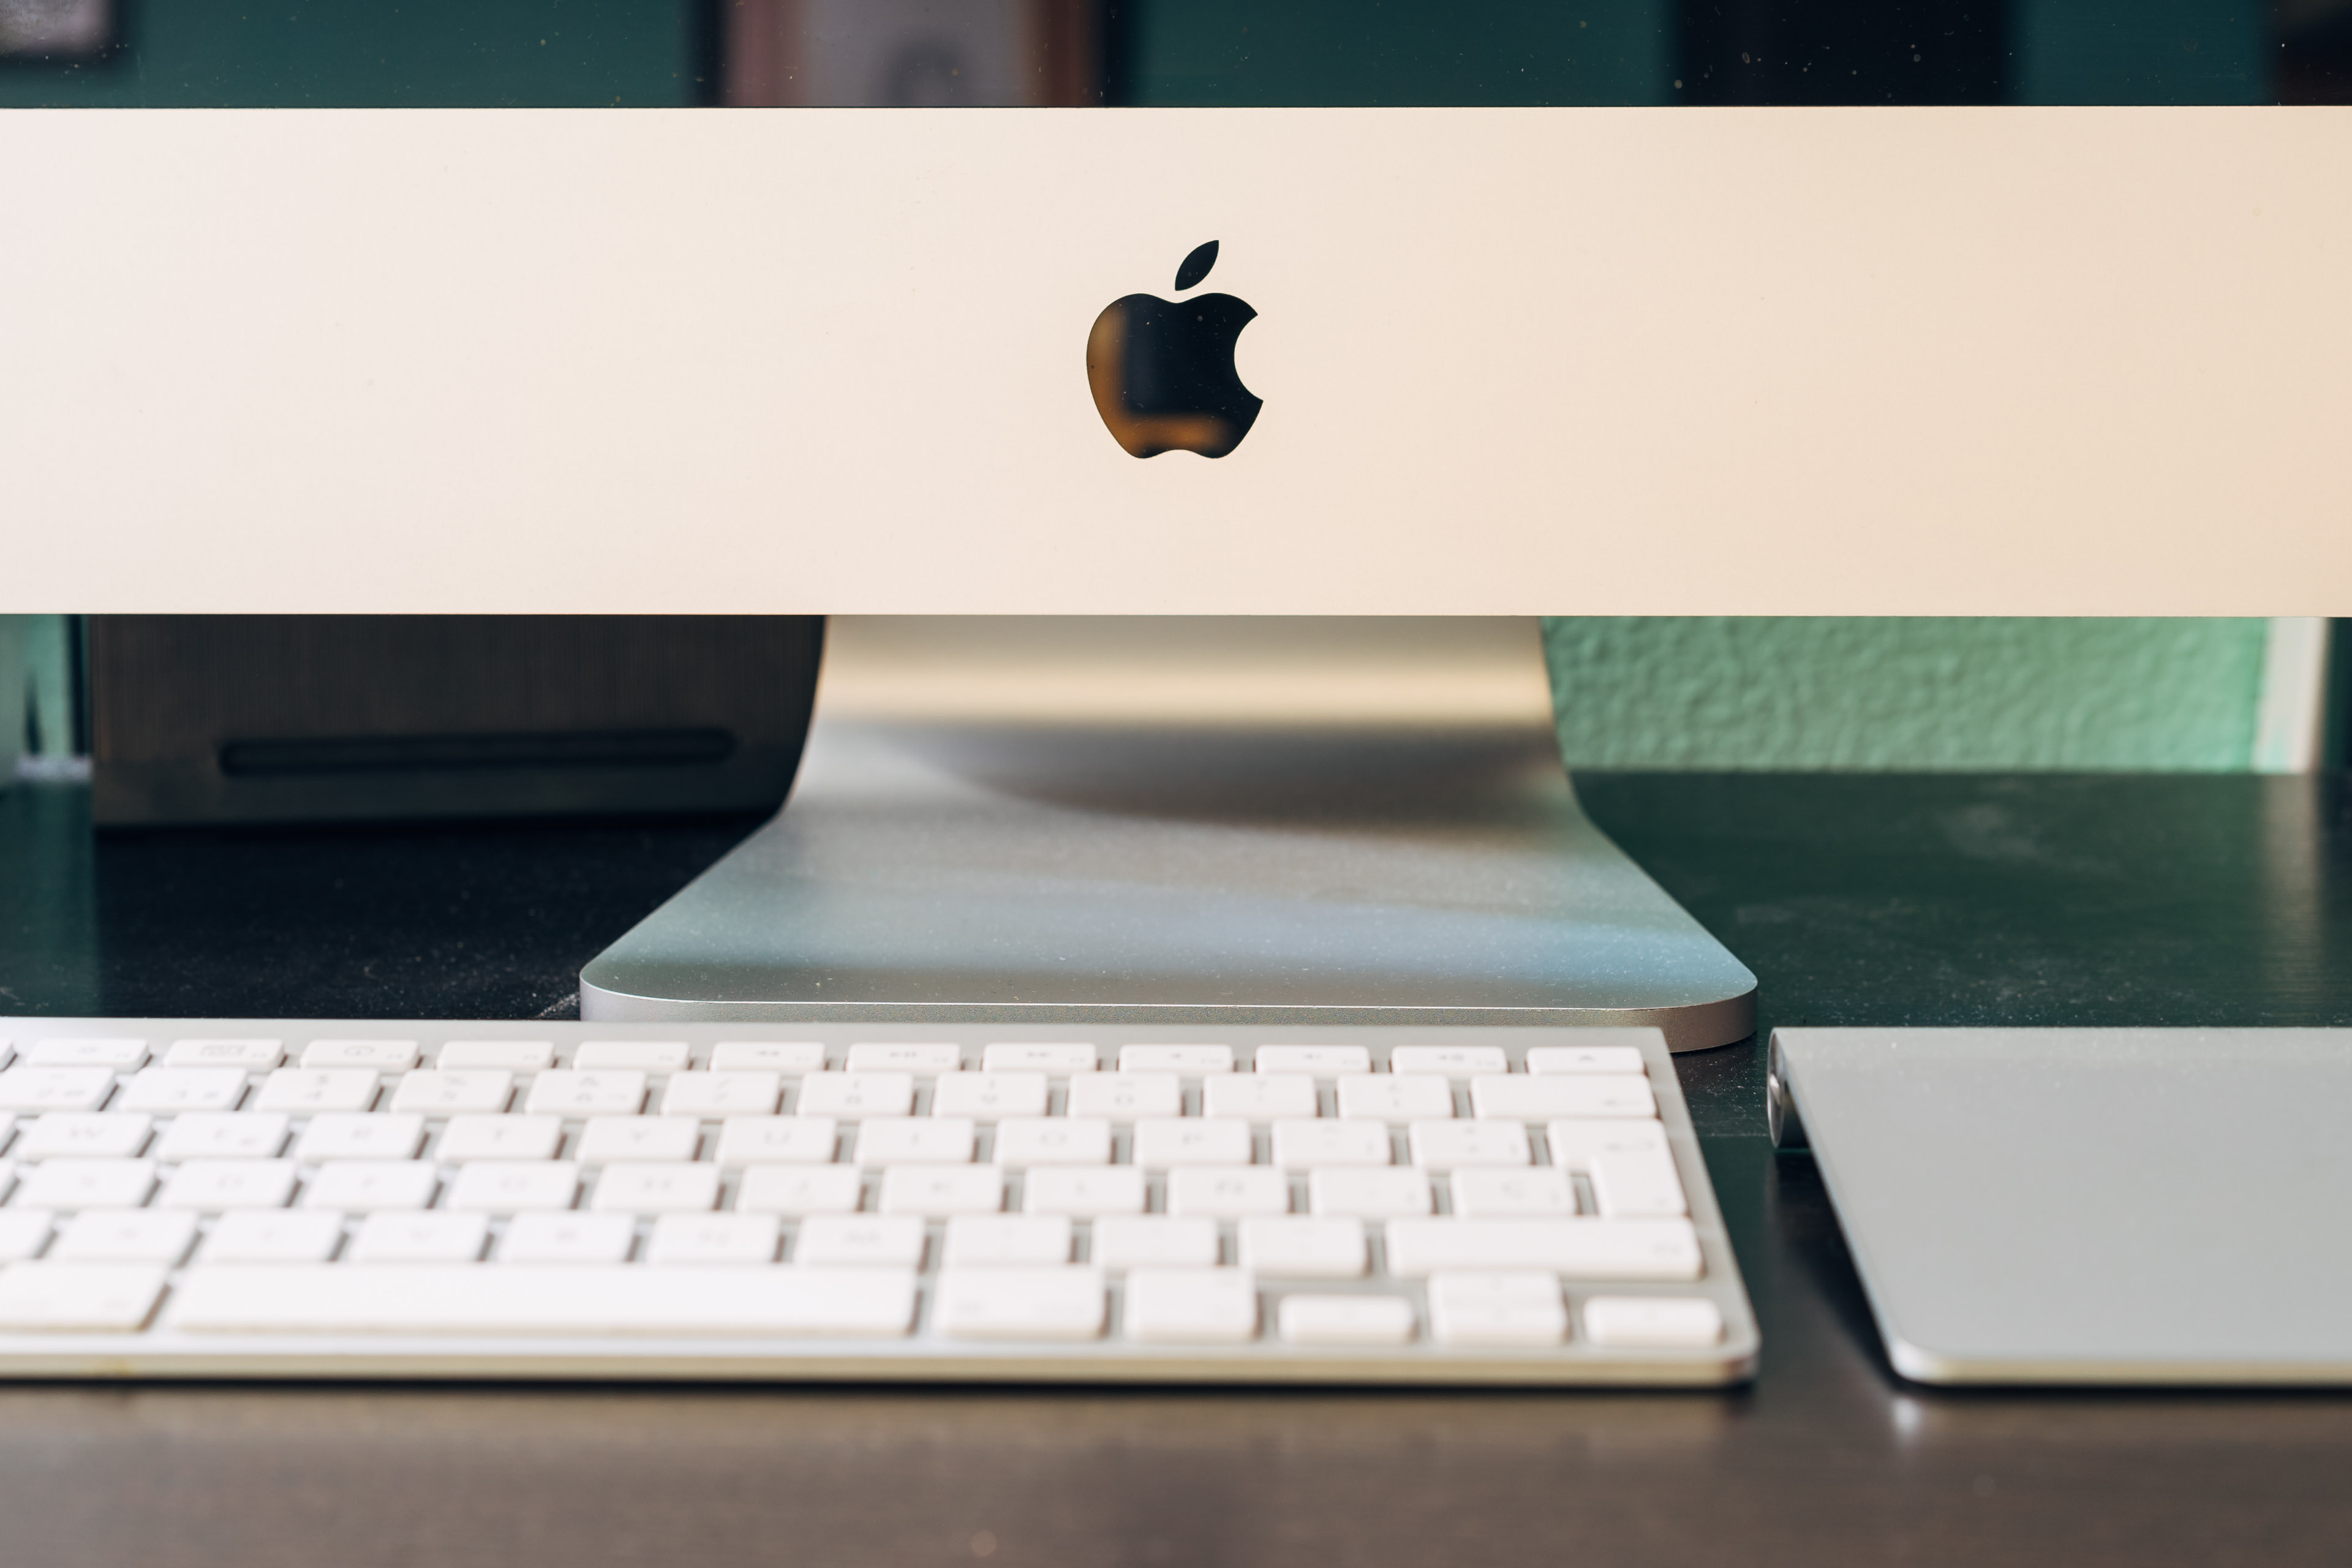
Even though it will not be supported by the newly-announced macOS Sierra, my Early-2008 iMac is still my primary Mac. It’s a terrific machine and I have no plans to replace it anytime soon. The rest of the article has been preserved in its original form for historical accuracy.

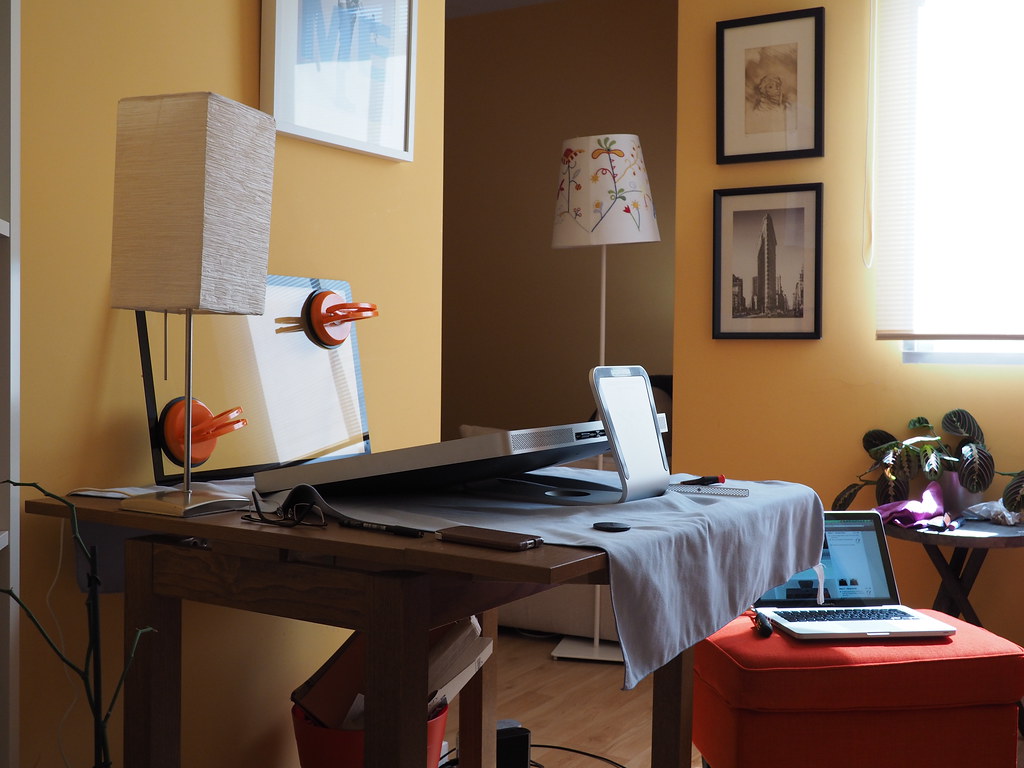
Set everything up in a comfortable environment and get to work!
Introduction
A couple of weekends ago I finally had time for a project I’d been wanting to do for months: upgrading my iMac’s internal hard drive to an SSD. This is an account of how the upgrade went, the difficulties I found, and whether I recommend anyone do the same (Spoiler alert: yes, very much so). Before I begin, please note that this article is not a how-to manual, and as such it should never replace the excellent step-by-step guides available on iFixit and elsewhere on the Internet. I followed the iFixit guide throughout the entire process and if you’re thinking of upgrading your own iMac, I suggest you do the same. Also, the Amazon links in this article are affiliate links, so if you buy anything through one of those links, I’ll get a small kickback from Amazon. Thanks!
Why
Ask around the Internet and most people will tell you that the single most important upgrade you can make to an old computer is an SSD. It’s absolutely true, followed closely by adding more RAM. In old computers, the most frequent performance bottlenecks in day-to-day use are caused by having to wait for the hard drive. It normally takes the drive a few milliseconds to get ready to read/write the desired data and, worse than that, those milliseconds add up quickly as the drive gets filled, because it has to look for different pieces of data that are scattered across the drive’s surface, and that takes time. Moreover, if you’re short on RAM, the system will try to create Virtual Memory by writing data to disk instead of RAM, which takes significantly longer. What the combination of these two situations amounts to is simple: you start seeing more beach balls, your entire computer appears to be frozen for a few seconds at a time, and the general “snappiness” of the system is gone.
An SSD, on the other hand, has no moving parts to spin, and it doesn’t have to go looking for pieces of data anywhere, so all those waiting times are cut down to effectively zero. That’s the main reason people swear by their SSD’s: if you put a modern SSD inside an old computer, it’s like rolling the clock back a few years. In fact, your machine can perform better than it ever did, even when it was new.
How
My iMac is a 24-inch model from early 2008. It was the top-of-the-line configuration then, with a Core 2 Duo processor clocked at 3.06 GHz. About two years ago I upgraded it with the highest amount of RAM it can get: 6 GB. Apple officially supports only up to 4 GB, but it’s been tested many times on the Internet that these iMacs actually support up to 6 GB, so I decided to go for it and had no problems whatsoever. Then, about a year ago, my graphics card died. I thought long and hard about whether it was time to replace my then 5-year-old iMac, but I decided to take it to the Genius Bar and see how much it would cost to repair it instead. It turned out to be a relatively inexpensive repair, about $180, so I figured it was worth it to keep my iMac around a bit longer. I like to use my computers for as long as possible and this one had served me well, so I saw no compelling reason to spend upwards of $1000 to replace it.
Now it’s a year later and the iMac continues to perform admirably for a machine of its age. However, I was starting to feel a little uneasy about the internal hard drive, a 500 GB, 7200 RPM model from Seagate. Commercial-grade spinning hard drives have an average lifespan of about 5 years, so mine was probably nearing the end of its life. I do keep up-to-date backups so I was prepared for an eventual failure, but modern consumer SSD’s are finally affordable enough that upgrading the internal drive started to make a lot of sense. I’d rather anticipate the drive’s failure and deal with the upgrade process on my own terms.
As for what SSD to get, when you’re coming from a spinning hard drive this is probably not a critical issue, since there are massive performance gains to be made by switching to pretty much any modern SSD. Still, I’m a nerd, so I like to do my research and make an informed purchase whenever possible.
WARNING: These SSD recommendations were originally published in May 2014 and are now outdated. Check the update notice above for the current recommended models.
Fortunately, the general consensus seems to be that right now, the best consumer SSD in terms of performance vs. price is the Samsung 840 EVO, so I decided to go with that one. The size question is trickier, though: prices scale almost linearly with capacity, so you don’t save much money by going bigger. On the other hand, it’s been suggested that the bigger flavors of the 840 EVO (500 GB, 750 GB and 1TB) have better performance and more durability. While that may well be the case, the smaller drives (120 GB and 250 GB) are already plenty fast and durable, so this is not a decisive point either.
I was initially leaning towards the 500 GB model, which retails on Amazon in Spain for 216€ (about $295). It would match my internal drive’s size, so I would not give up any space in the transition, which seemed like the best way to go. However, I never really used all the space in my internal drive. Most of my storage needs are for my media collection (music, TV shows, movies and photos), which I keep on an external drive anyway. I typically only use about 100 GB of internal storage, which include the OS, my applications, documents, my Dropbox folder and little more, so what’s the point of buying a large SSD if I’m not even going to use half of its capacity? For reference, the 250 GB version retails for 120€ (about $164). After careful consideration, I decided to buy two 250 GB drives instead of the 500 GB, and use the other one to upgrade my 13” Mid-2010 MacBook Pro. That way I could upgrade both Macs for only a little bit more money.

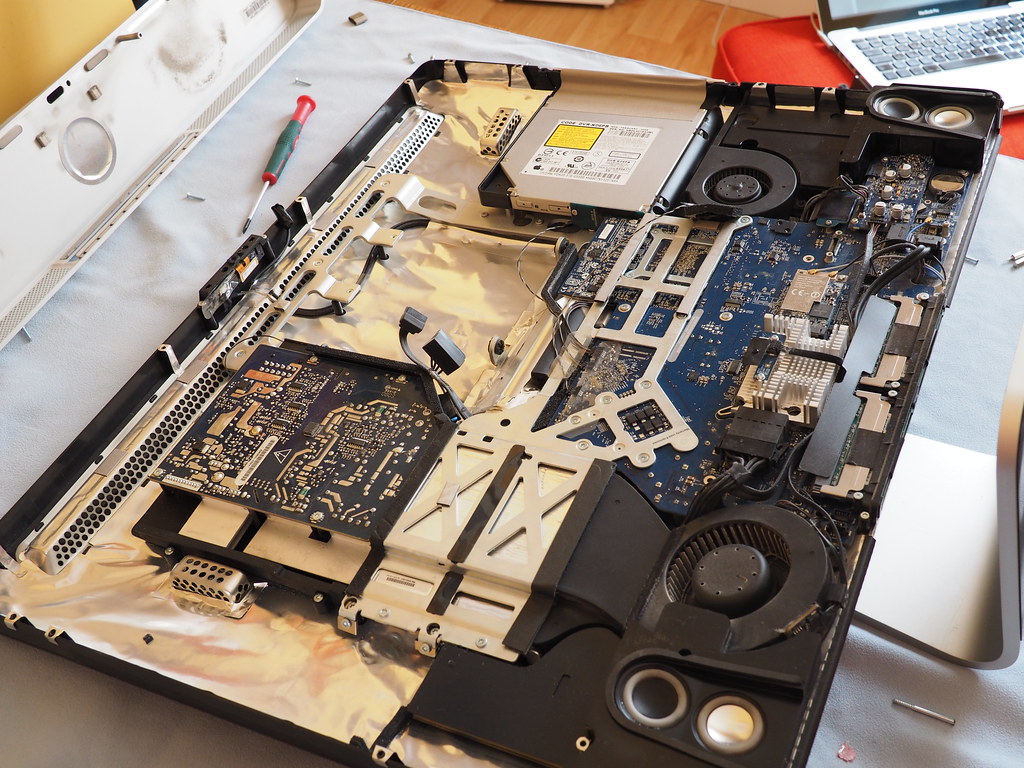
Scary, I know, but it’s easier than it looks.
Getting my hands dirty
Upgrading the hard drive in a Mid-2010 MacBook Pro is relatively simple, just follow the iFixit guide and you’ll be fine. I will focus here on the iMac. In order to install a 2.5” SSD into an iMac, you need to use a special adapter. The iMac’s bay is designed to hold 3.5” drives, so if you try to install the SSD as-is, it will not be properly secured and it will move around inside the iMac. Obviously, you do not want that to happen. I recommend using the Icy Dock EZConvert adapter, which is cheap and will get the job done without any issues.
Other than that, all you need is a Torx T-8 screwdriver, a Torx T-6 screwdriver, two heavy-duty suction cups to remove the glass panel, and you’re good to go. Disassembling the iMac, especially for the first time, is a bit imposing and not for the faint of heart, but it really is quite simple. The whole process from disassembly to reassembly can probably be done in under an hour, if you know what you’re doing.
I have uploaded an album with some photos to my Flickr account, in case you want to see it in more detail. Each photo includes a brief description of what’s going on. It’s fun to look at the pictures and think, “hey, I did that”, but there’s really nothing there that you won’t see on the iFixit guide.
I do have a few comments that I thought were not sufficiently clear on the guide, though:
The screws that hold the aluminum bezel in place have different lengths depending on their position. I took some pictures with each screw next to its original hole to help me remember where each one went.
When you’re about to remove the LCD panel (Step 11 on the iFixit guide), DO NOT DISCONNECT THE LCD POWER CABLE FROM THE POWER SUPPLY END. Seriously. Instead, disconnect it from the other end, where it attaches to the LCD panel itself. It’s extremely difficult to reconnect that cable, since the awkward position underneath the power supply makes it almost impossible to handle. I didn’t connect this cable properly the first time and my iMac’s display would not turn on. After getting through the entire process, I had to disassemble everything again, including four additional screws that hold the power supply in place so that I could tilt it and gain access to the connector. I then realized I had bent one of the connector’s pins, which was causing the problem. It was only thanks to the comments section of the iFixit guide that I found out about this. They really should change the guide to state this more prominently, since it is a potentially dangerous situation: had the pin broken, I probably would’ve had to replace the entire power supply, with the added cost and difficulty that would have meant. This is the only complaint I have on what’s otherwise an excellent guide, but it’s kind of an important one.
When you’re mounting the SSD inside the adapter, thread the thermal sensor cable through one of the ventilation openings and attach the sensor to the SSD using duct tape. I found this to be easy with the Icy Dock adapter, which is one of the reasons I recommend using that one. A wrongly-attached thermal sensor may cause your iMac’s fans to work at full-speed all the time, thus killing one of the greatest features of the iMac: its near-silent operation.
This is probably an obvious thing, but I’ll say it anyway: this is a great opportunity to thoroughly clean up your iMac’s interior. I assure you, the amount of dust you’ll discover inside will surprise you. Make sure you clean everything before reassembling your iMac. I used a compressed-air spray to remove dust from the trickier components: fans, motherboard, speakers, etc. Put special care into making sure there are no dust particles caught between the LCD and the glass panel. Remember, a clean Mac is a happy Mac.
Restoring the System
The last part of the process is, of course, getting your new SSD up and running. Here you have basically two options: you can restore from a previous Time Machine or SuperDuper! backup, or you can start fresh by installing OS X from scratch. For the iMac, I decided to restore from a backup, since I’d made a clean install not too long ago. For the MacBook Pro, however, I chose to do a clean install instead. I booted the newly-assembled iMac from a SuperDuper! backup I had on an external drive and used SuperDuper! to restore the backup to the SSD. The restoring process took about 90 minutes and it was absolutely flawless. When it was done, I was up and running again without any issues whatsoever. I really cannot recommend SuperDuper! enough. If you own a Mac, you should definitely be using it.

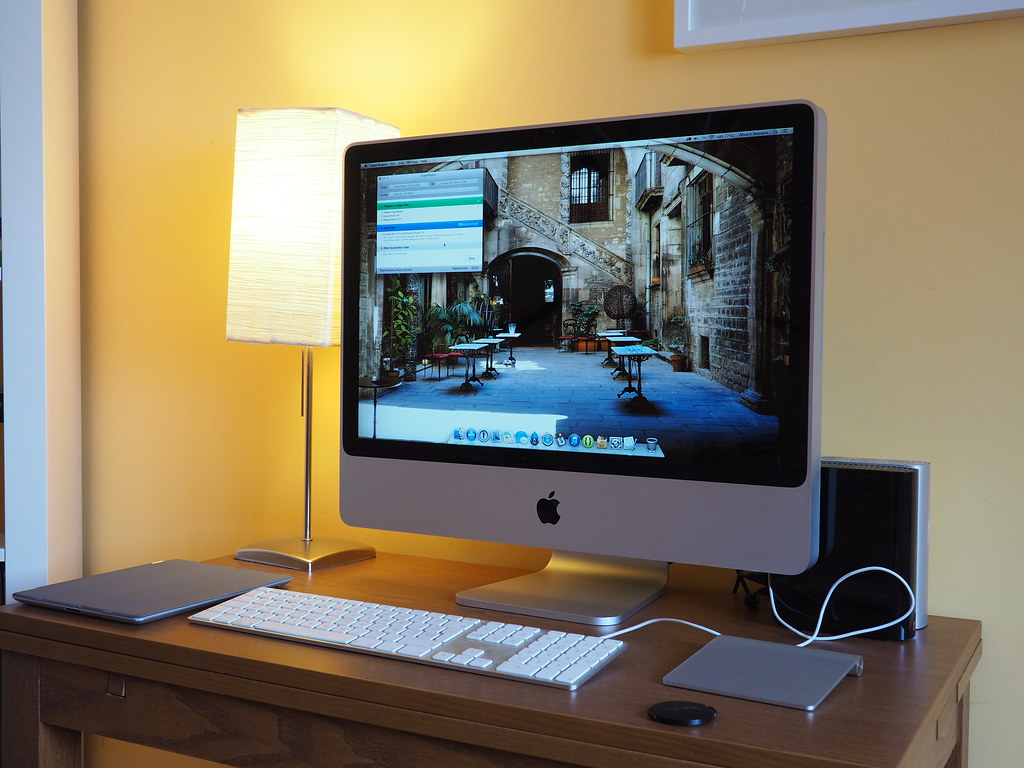
It’s Alive!
The Verdict
Upgrading my 2008 iMac with an SSD has really given it a new lease of life. I couldn’t be happier with the result, and I sincerely recommend doing the same if you own one. The performance improvement is nothing short of spectacular: apps launch instantaneously, file transfers are a breeze and the entire system keeps up with my workflow without breaking a sweat. These days, computers are so over-specced that there really is no need to upgrade as frequently as before. The 24-inch iMac is an amazing computer, and it’s so well-built that it really makes sense to keep it around for as long as you possibly can. With the added performance of an SSD, my iMac will probably always be “fast-enough” for my needs, so I intend to keep it around until it breaks apart or it is no longer supported by new releases of OS X. Whatever comes first.
